*In partnership with Harmon Face Values.
All products I use in this post are $5 off with a $20 purchase!
Even on staples like sunscreen and medicine!
Curling your hair is truly an art. Whether you’re aiming for the perfectly tousled beach wave or an excellently executed ring curl, it can take weeks or even years to master.
Some days are good hair days and others you just end up throwing it into a high ponytail before heading off to work. I hear you on the struggle!
I started curling my hair about 6 years ago. Tired of my super straight locks, I wanted effortless curls. The grass is always greener. Fast forward to the night I met Matt, my (now) Instagram husband. I had my hair curled that night and set a standard I’ve never been able to escape. Matt loves my hair curled. Matt loves when I get dressed up in any way. Before you jump to conclusions, he’s definitely not the kind of guy who would make me spend an hour in the bathroom curling then re-curling my lifeless waves. He just notices when I do look a little more fancy. We all live for and feel better after getting those kind of compliments. Regardless of who it’s from, right?
I’ve gotten a ton of questions about how I curl my hair. I’m firmly convinced it’s part years of practice, part your hair type, and part luck. Read: you aren’t going to master it in one try. Don’t get frustrated. Enjoy the process of creating your own signature look! Whether it’s a variation on what I’m explaining here or something completely different, you look great girl!
In today’s post, I’m going to use a curling iron. It’s what I started on and I think it’s easier to use. In full disclosure, I usually use the T3 Wand with a 1.5 inch straight barrel (stay tuned for a tutorial on that). However, I wanted to start with a tool that was extremely affordable (this curling iron is $25 from Harmon Face Values), to show that you don’t need to invest in an expensive item. If you aren’t familiar with Harmon Face Values, I wrote about them here and they’re connected with everyone’s favorite: Bed Bath & Beyond! Most of the people I’ve talked to already own a curling iron (not a wand) so let’s give you a tutorial you can use!
Step 1
Start with your natural hair, whatever that may be. If you have fine, straight hair like I do, the dirtier your hair is, the better. I find that my hair looks best on day 2 or day 3. Run your hands through it to do a little finger comb.
Step 2
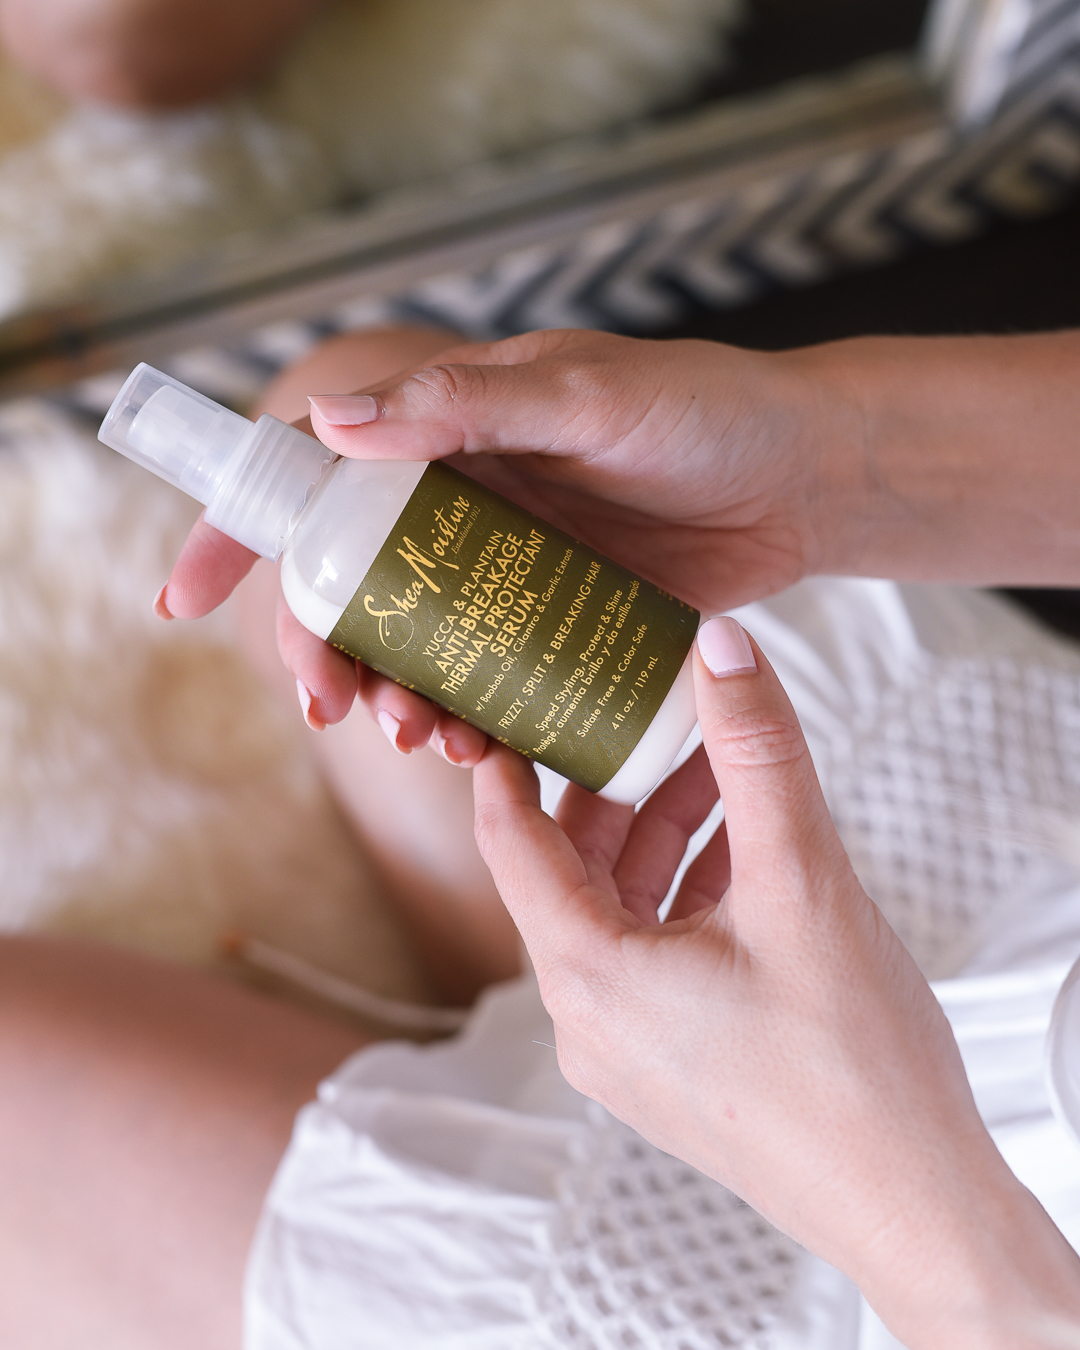
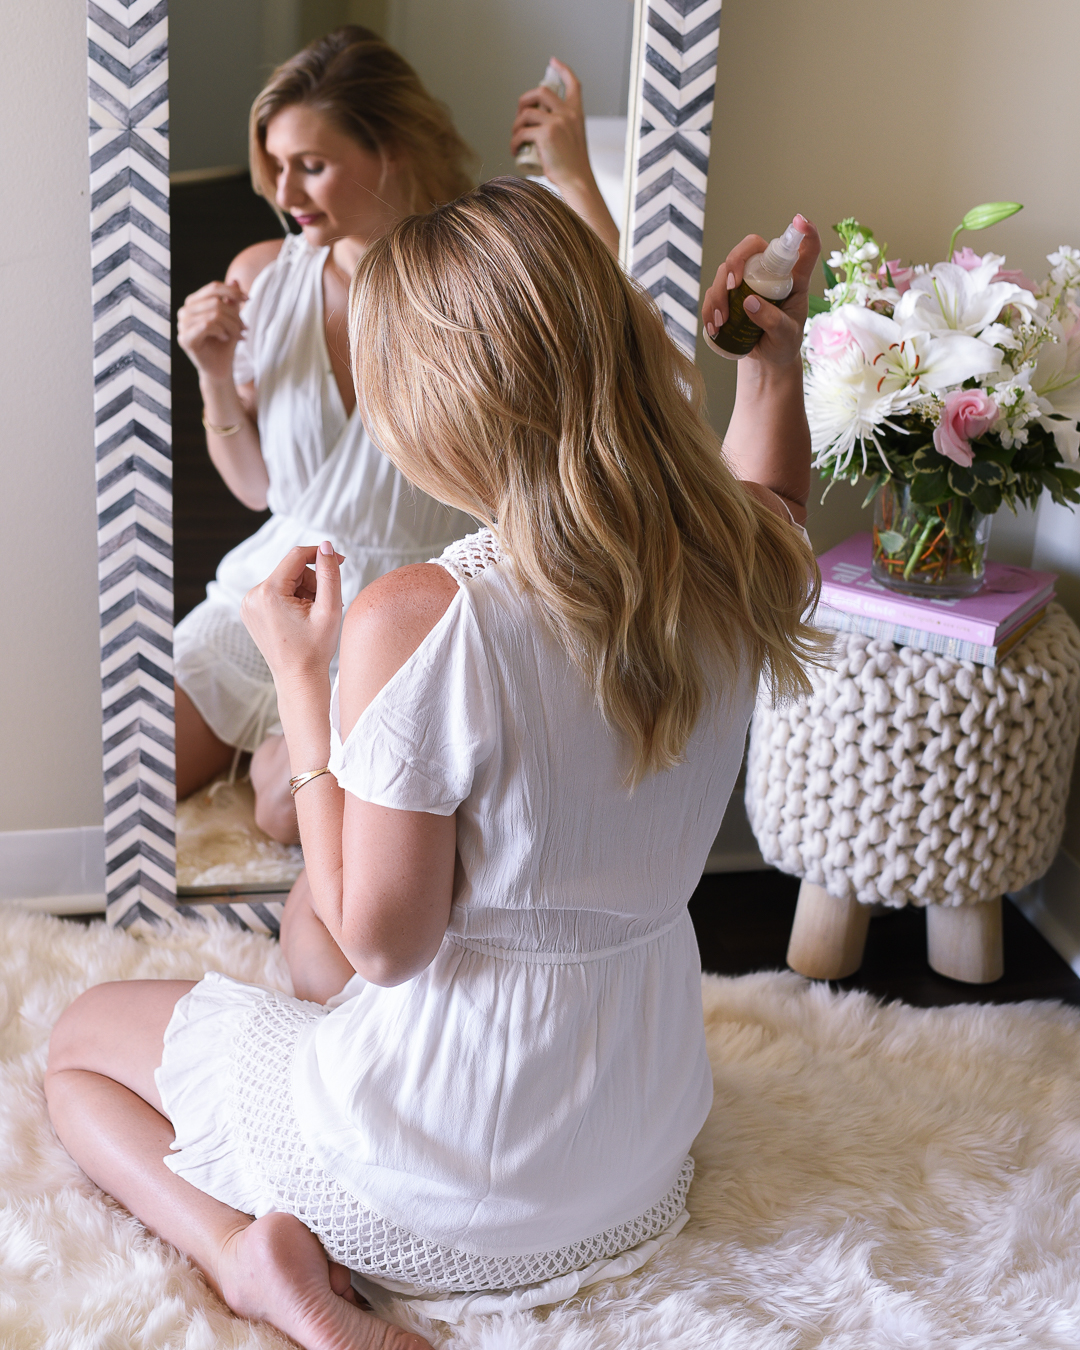
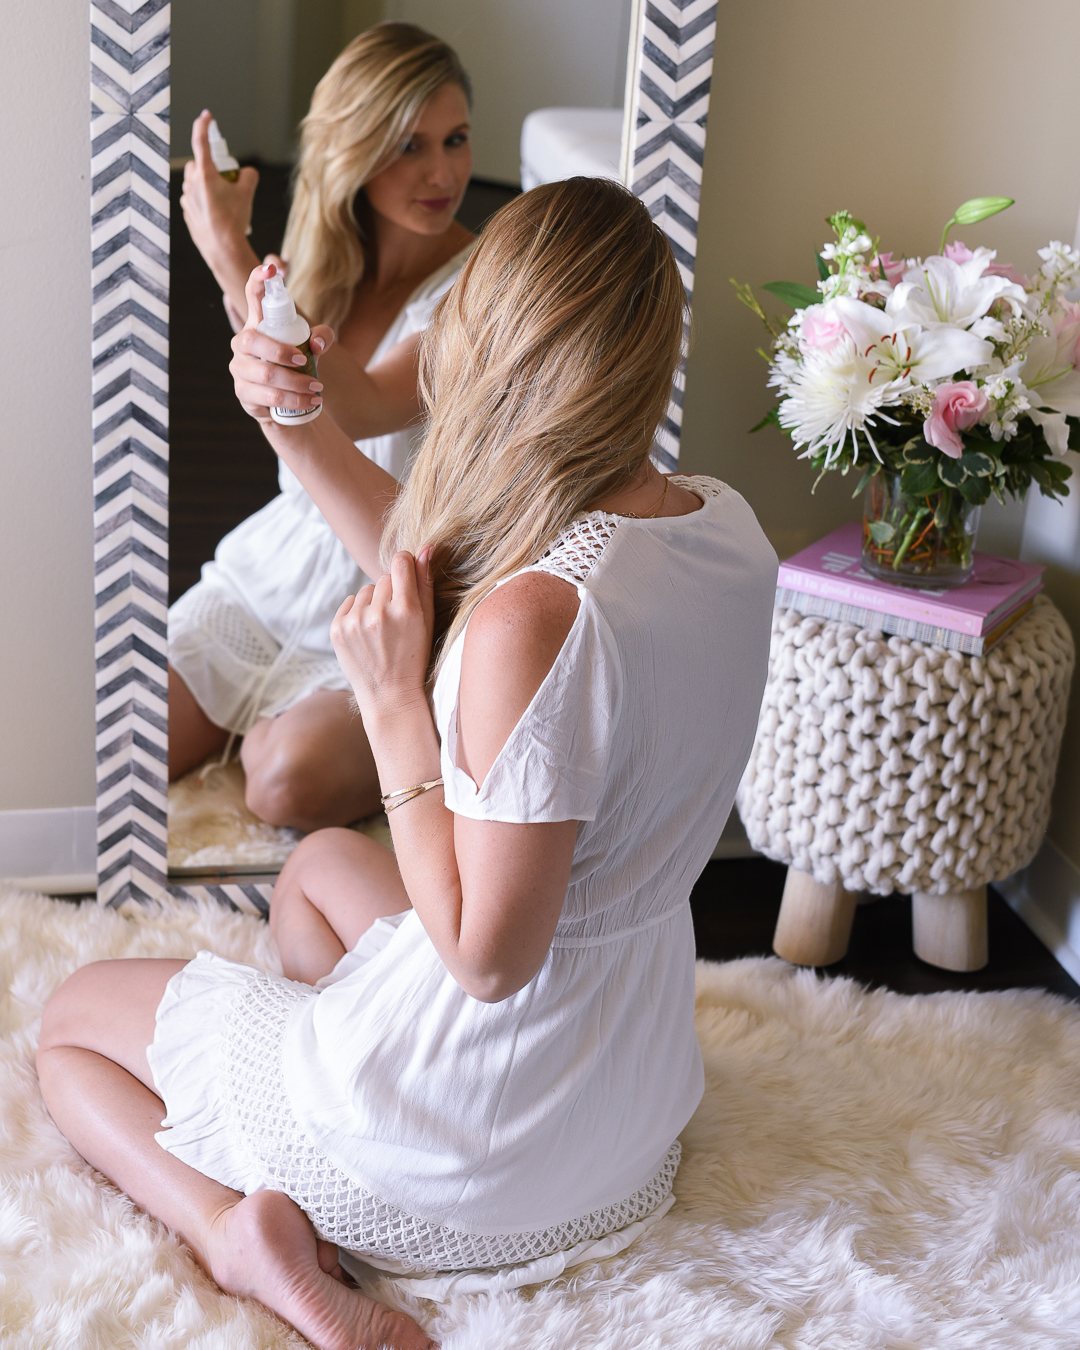
Add heat protectant! Ever since a bad dye job, I’ve been doing a lot of experimenting with products for dry, damaged hair (and even wrote a post about my favorite products). Repairing your hair, especially if it’s long, is a process. As a person with little patience, it’s a process no human female should have to endure. Take my word for it. So don’t even think about putting heat on your hair without spraying with protectant first. I just got the Shea Moisture Yucca & Plantain Heat Pro, also from Harmon Face Values. Y’all know I read the ingredients in my beauty products to search for toxic chemicals and this product is pretty safe. I’ll take it!
If you have frizzy hair, try this John Frieda Frizz Ease Heat Defense for a little extra love. Straight hair girls can even use it too. You can always have less frizz!
Step 3
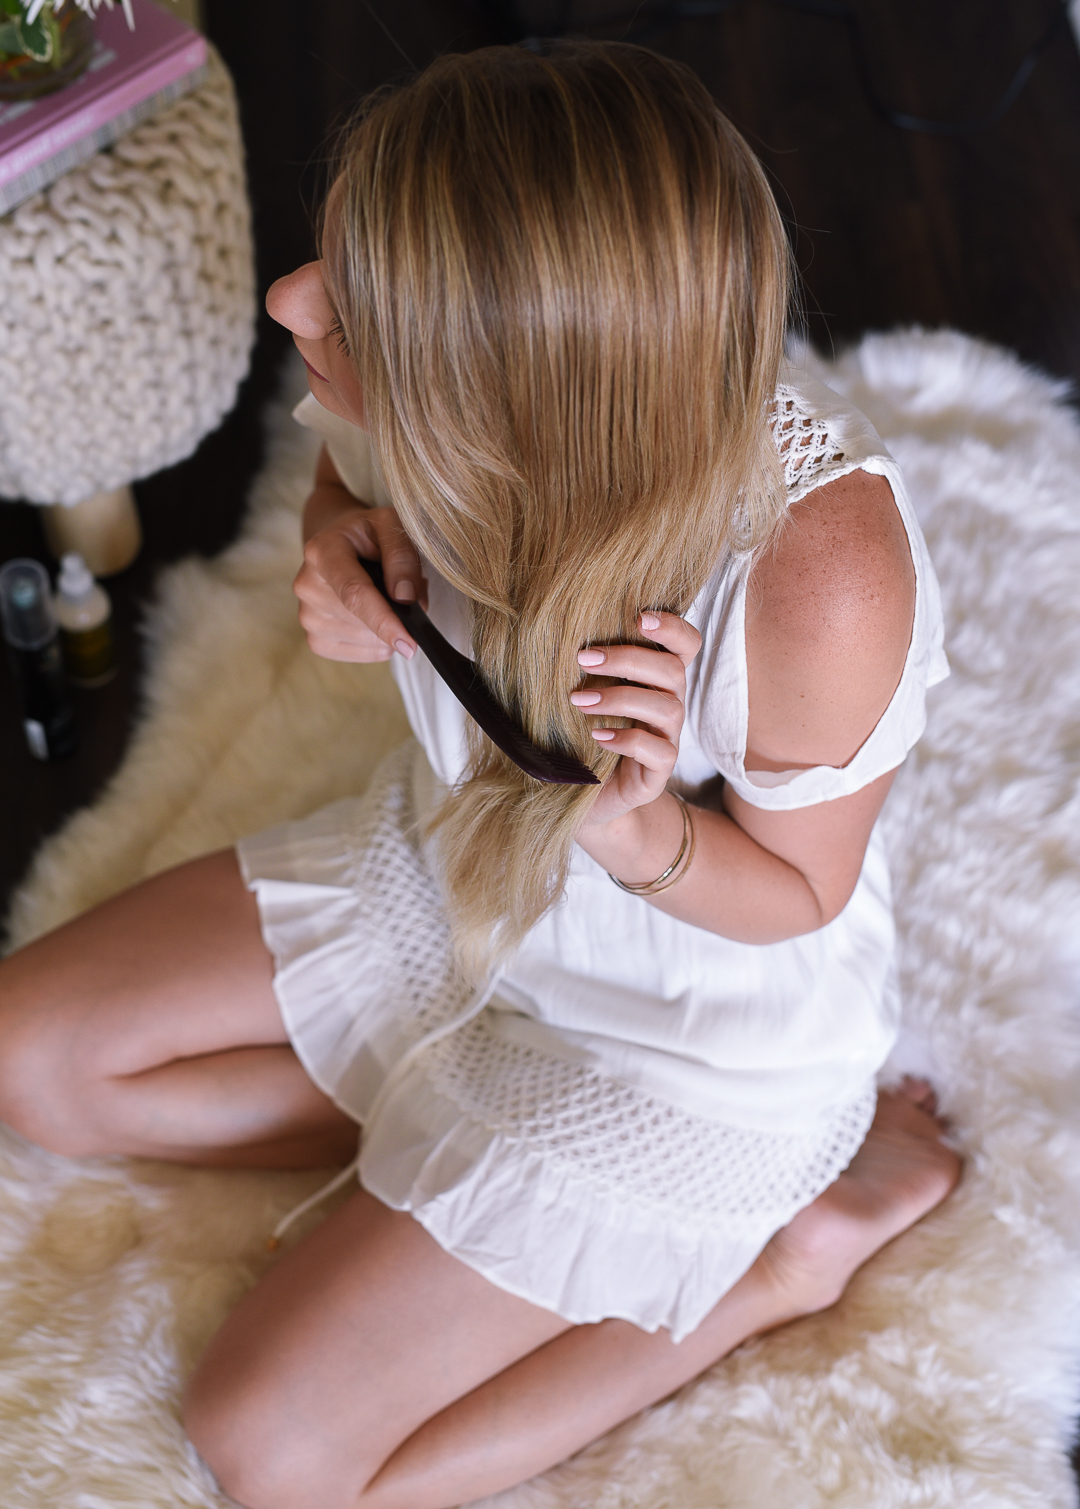
Comb through to evenly disperse the heat protectant. If the product is a regular spray vs. an aerosol, this step is important to coat all your strands evenly. It also gets the knots out from that bed head.
Step 4
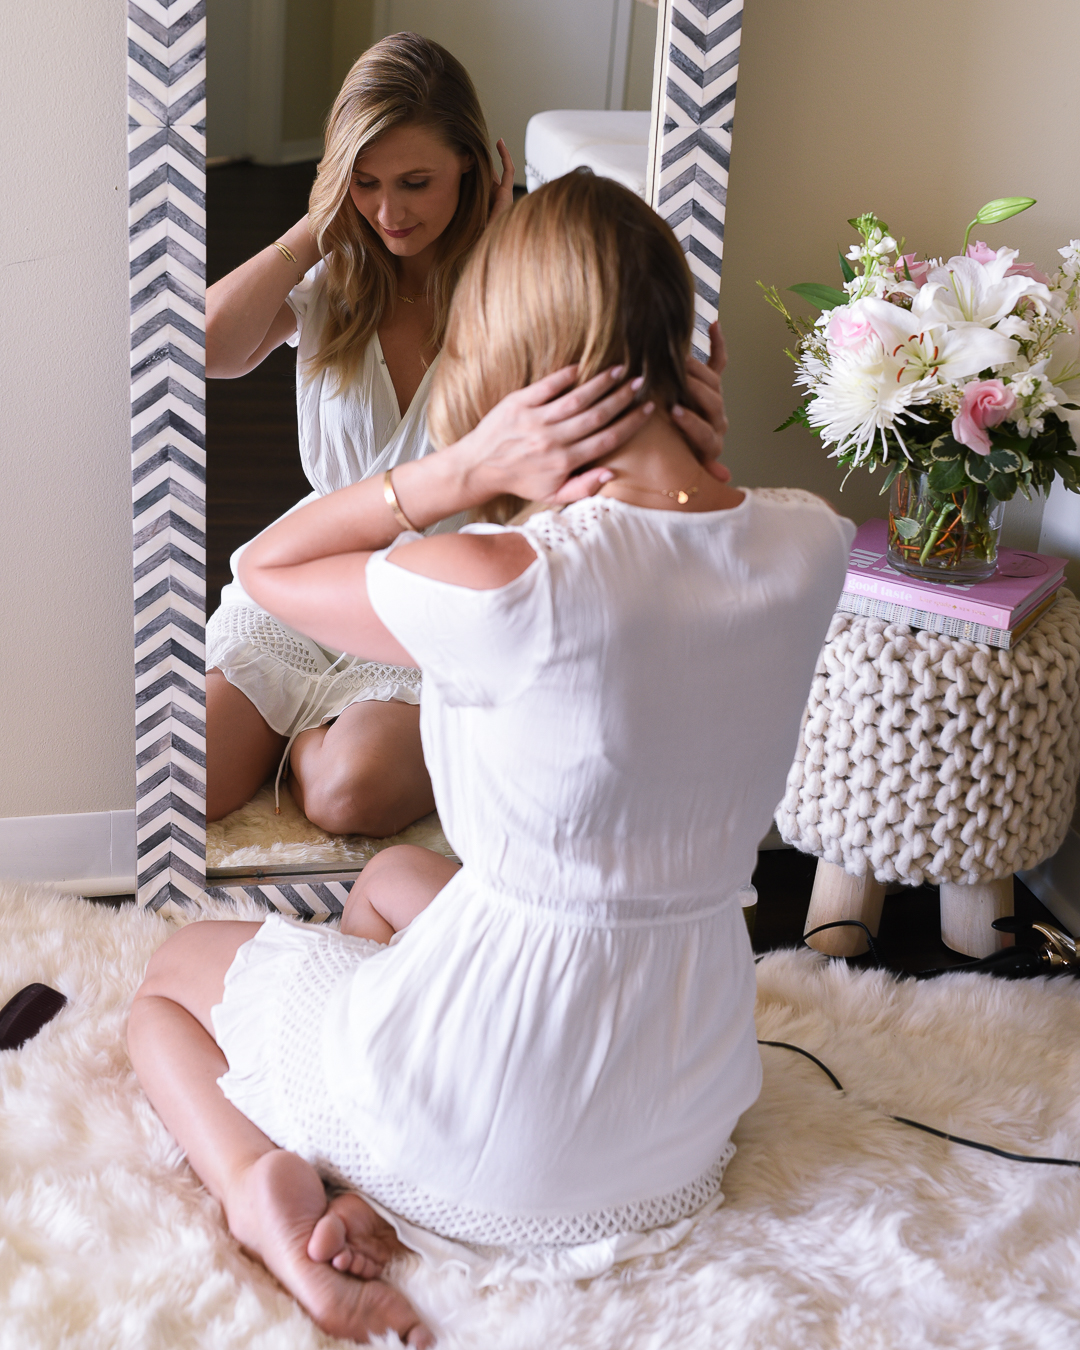
Part your hair however it parts on the top and down the middle in the back.
Step 5
Prep for curling, mentally. You’re going to curl your hair top down and back forward. You’ll notice that I don’t section any of my hair. I’ve tried it but it’s not for me. I feel like my method delivers messier curls that look less “manufactured”. If that’s not something you want, section away. Also, if you have extremely thick hair, you may need to do this anyway. My hair is relatively thick but since the hair follicle is so fine, it’s easier to manage.
I usually take about 4 sections from top to bottom in the back and 2 in the front. I have 5 sections/columns from front to back on my left side (the bigger one based on where my hair is parted). I grab the hair in a slight diagonal vs. grabbing a patch shaped like a square box. I don’t stress over making sure each section is the same size either. Just don’t make any section more than an inch in width (you’ll get awkward crimps with curl only at the ends) or height (results: ringlets). I like how it looks more beachy and natural this way. I’m trying to get a good base curl going. Keep reading to see why.
Step 6
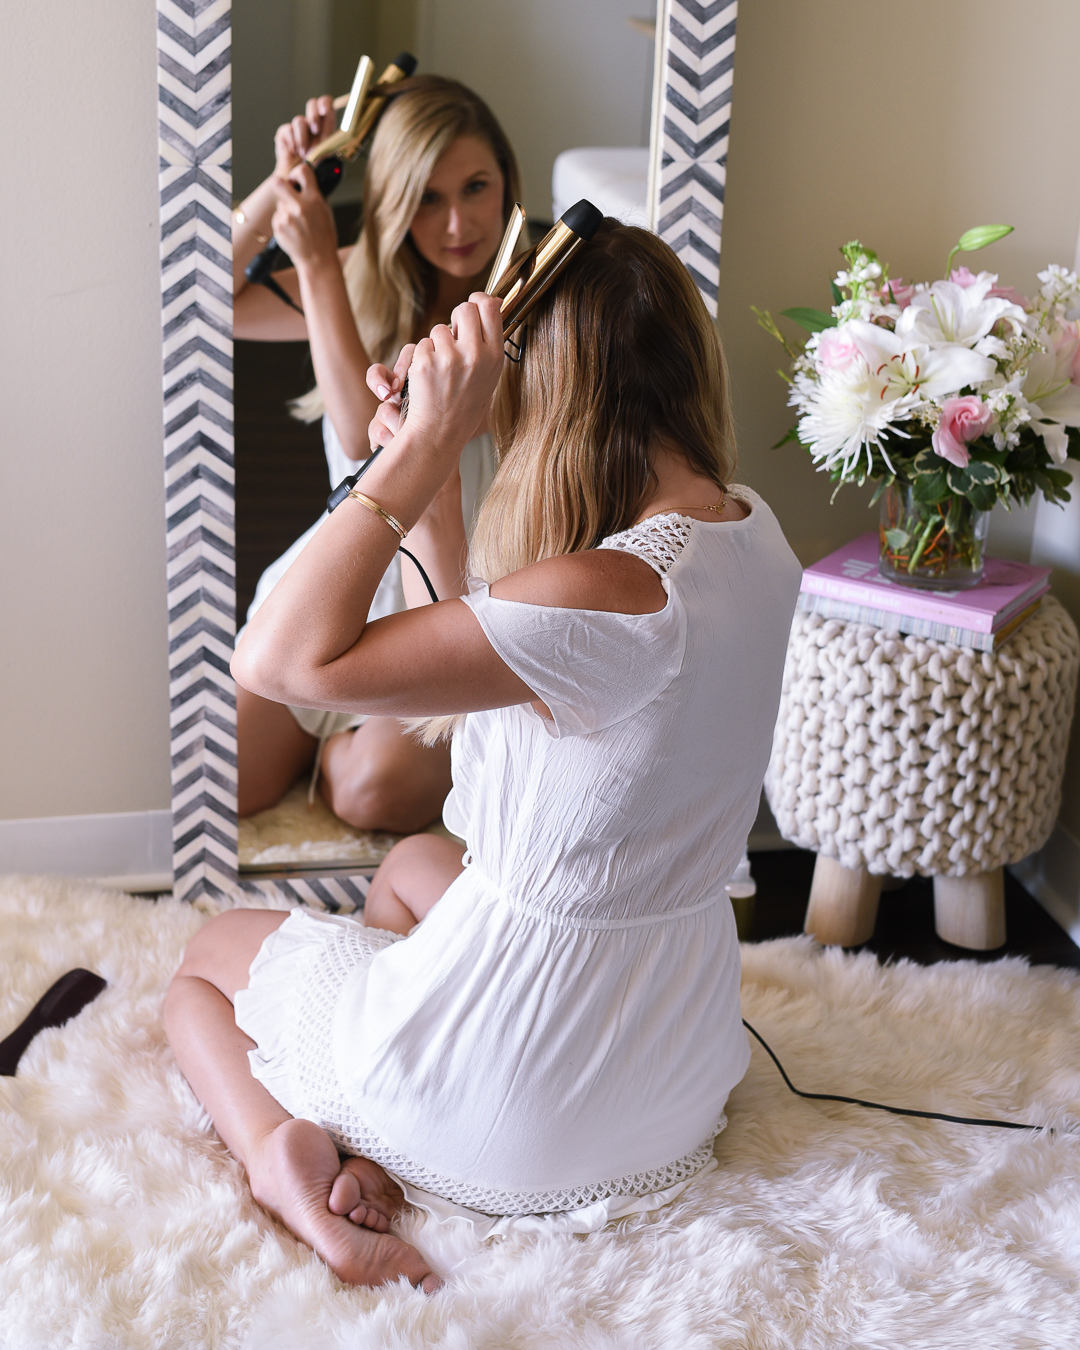
Actually curl your hair. The first key to this is the size of the barrel – use a 1.25 or 1.5 inch. Nothing else. To see what a 1 inch on my hair looks like, see this post. You can make it work but it’s not ideal.
Now this is the hardest part but once you master it, you will never forget. The most common complaint I’ve heard is getting a crease when using a curling iron. The way I curl makes it a lot more difficult to get a crease – you just have to watch your ends.
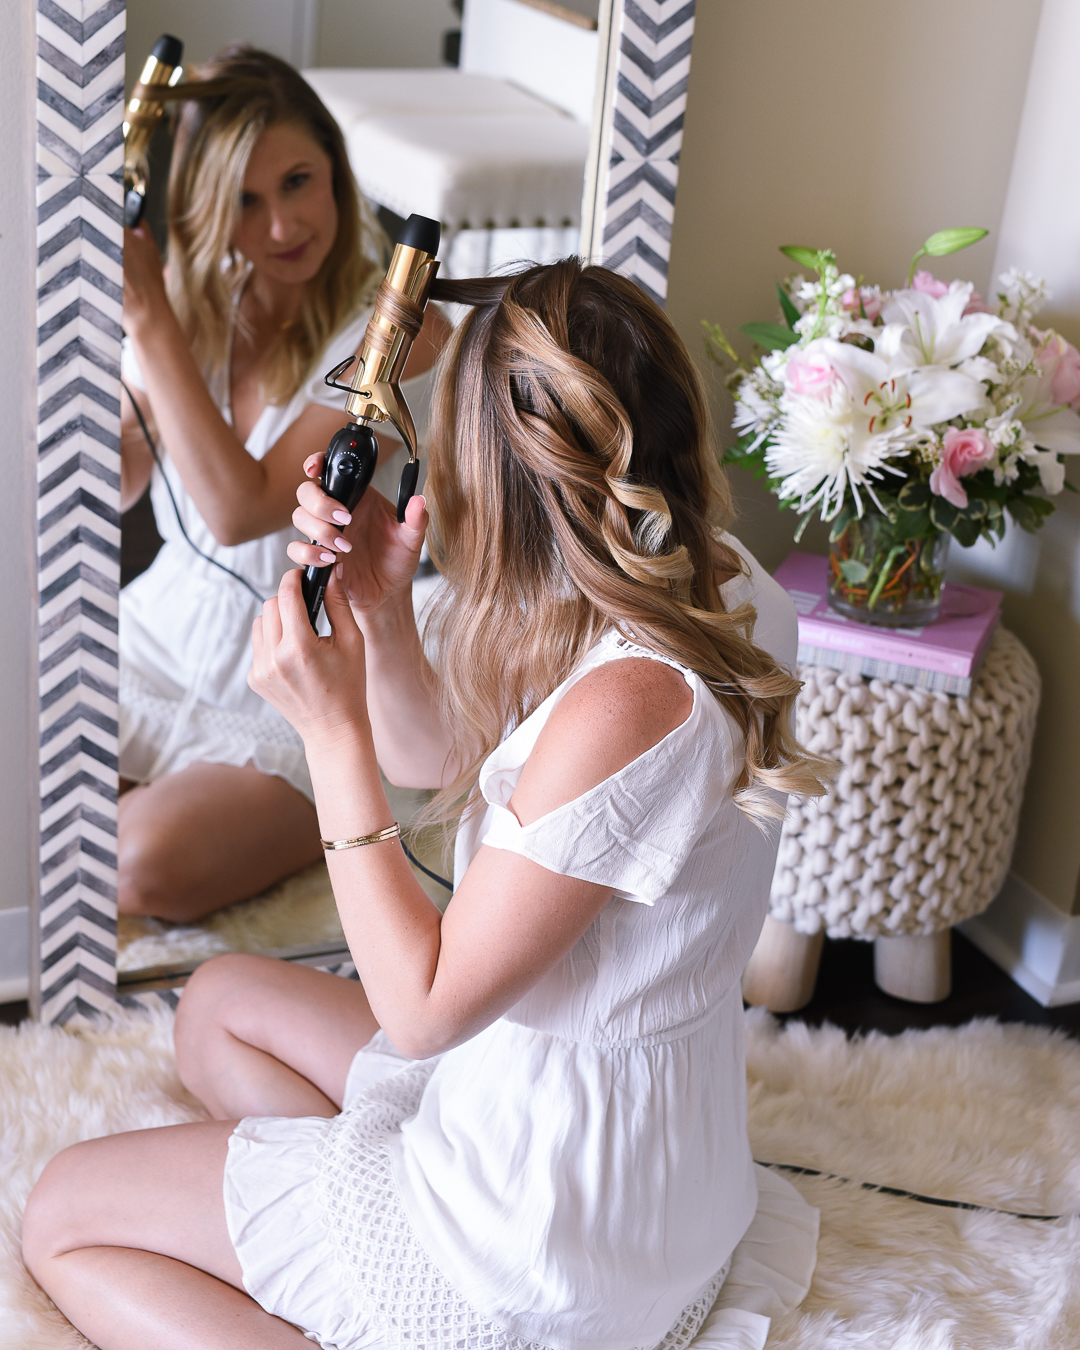
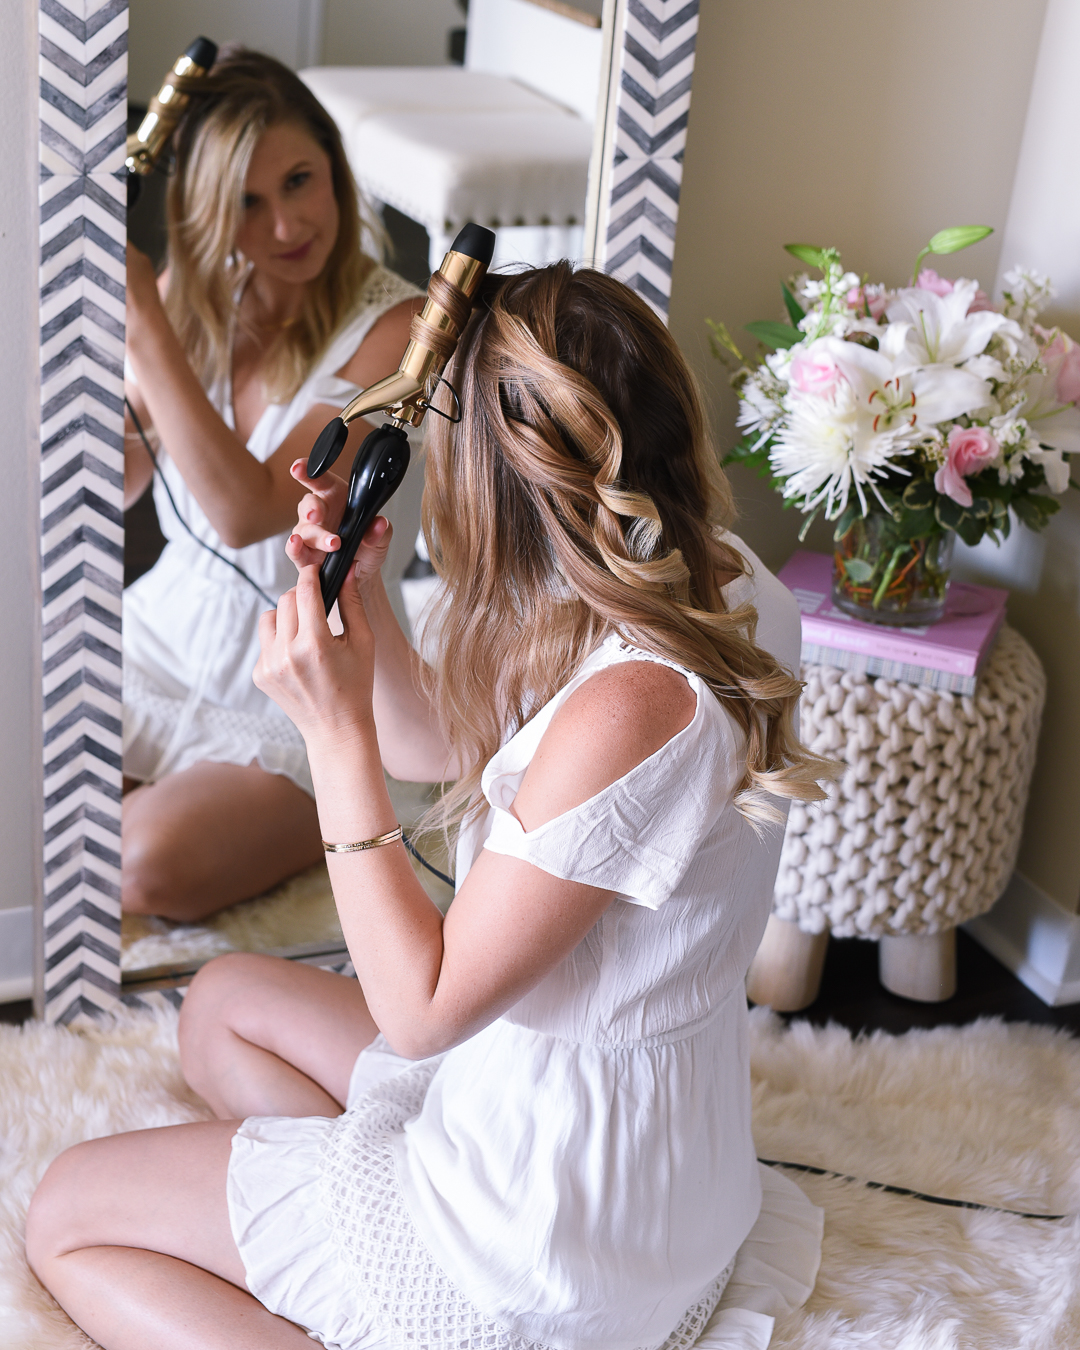
Take one of your sections and thread it through the curling iron so it’s in the middle. Set it up to curl away from your face. DON’T clamp down until you’re ready to start twisting. I had Matt take photos of me doing one strand so you could see a continuous process. Slowly close the clamp as you rotate the curling iron in whatever direction is going to make that curl go away from your face. Do one rotation. Get your grip again and get ready to open the clamp while rotating again. You’re basically curling one strand in parts, but giving the top/middle a little TLC which tend to fall out sooner anyway.
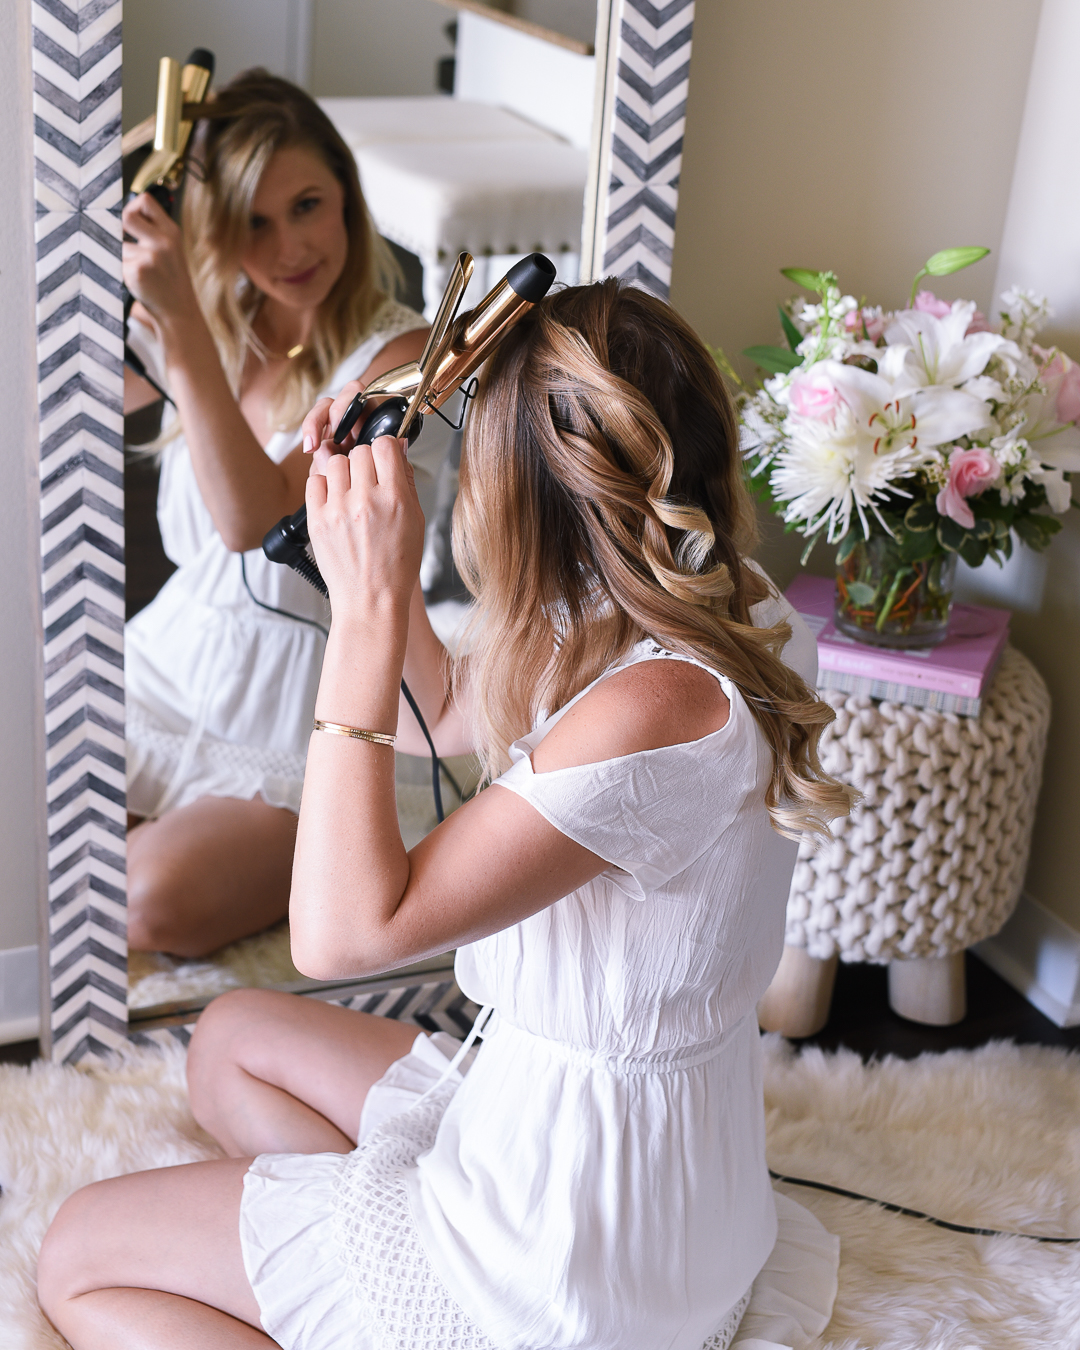
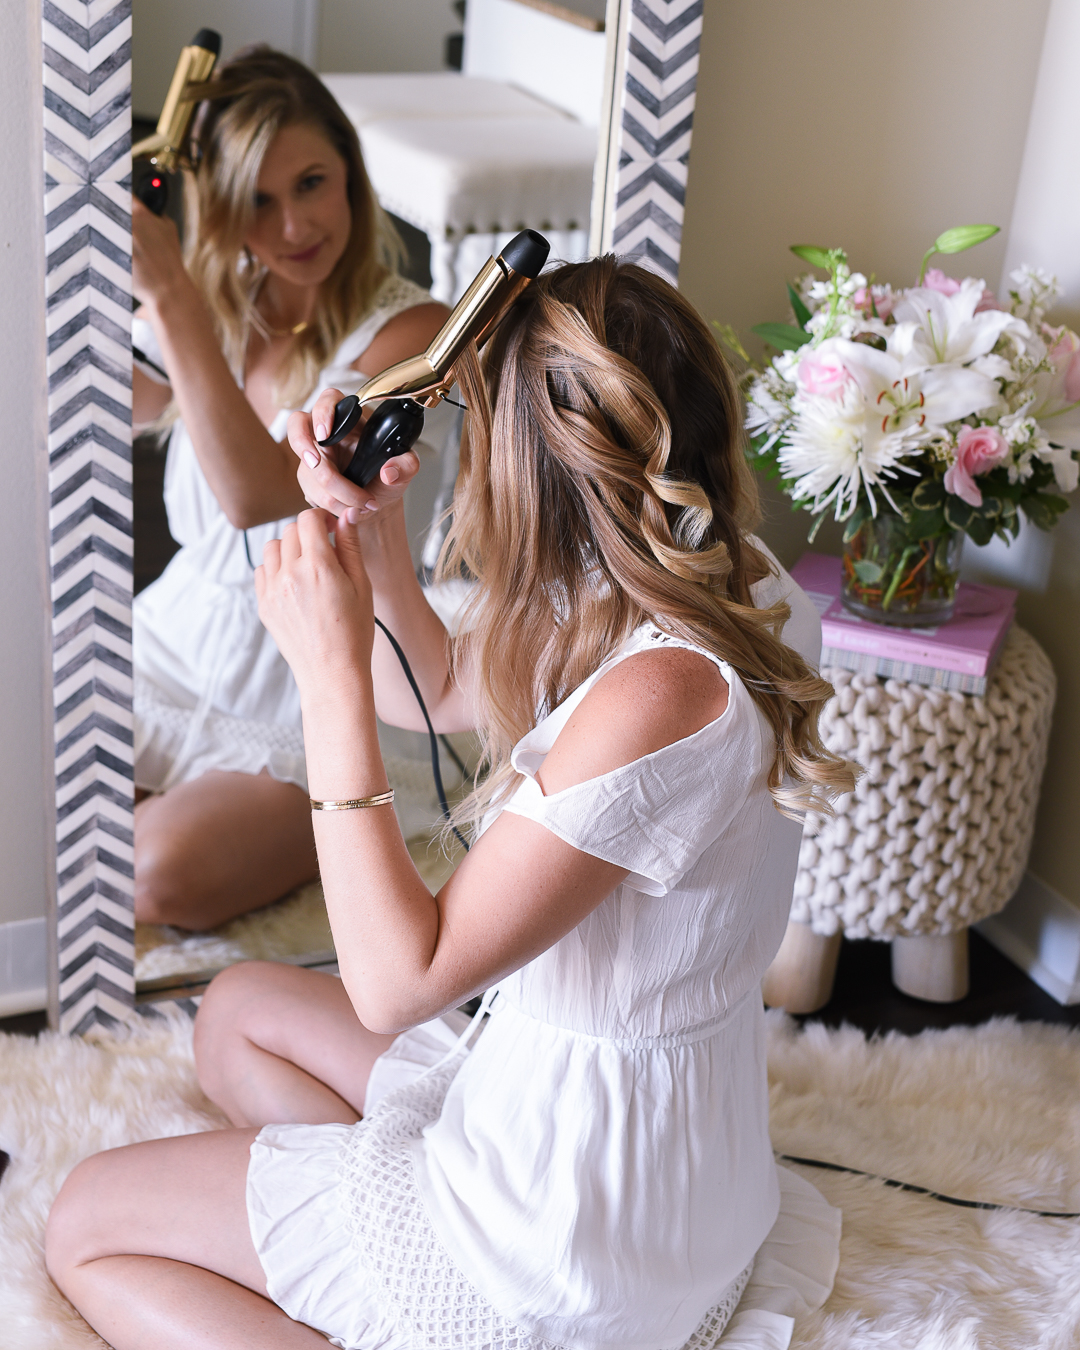
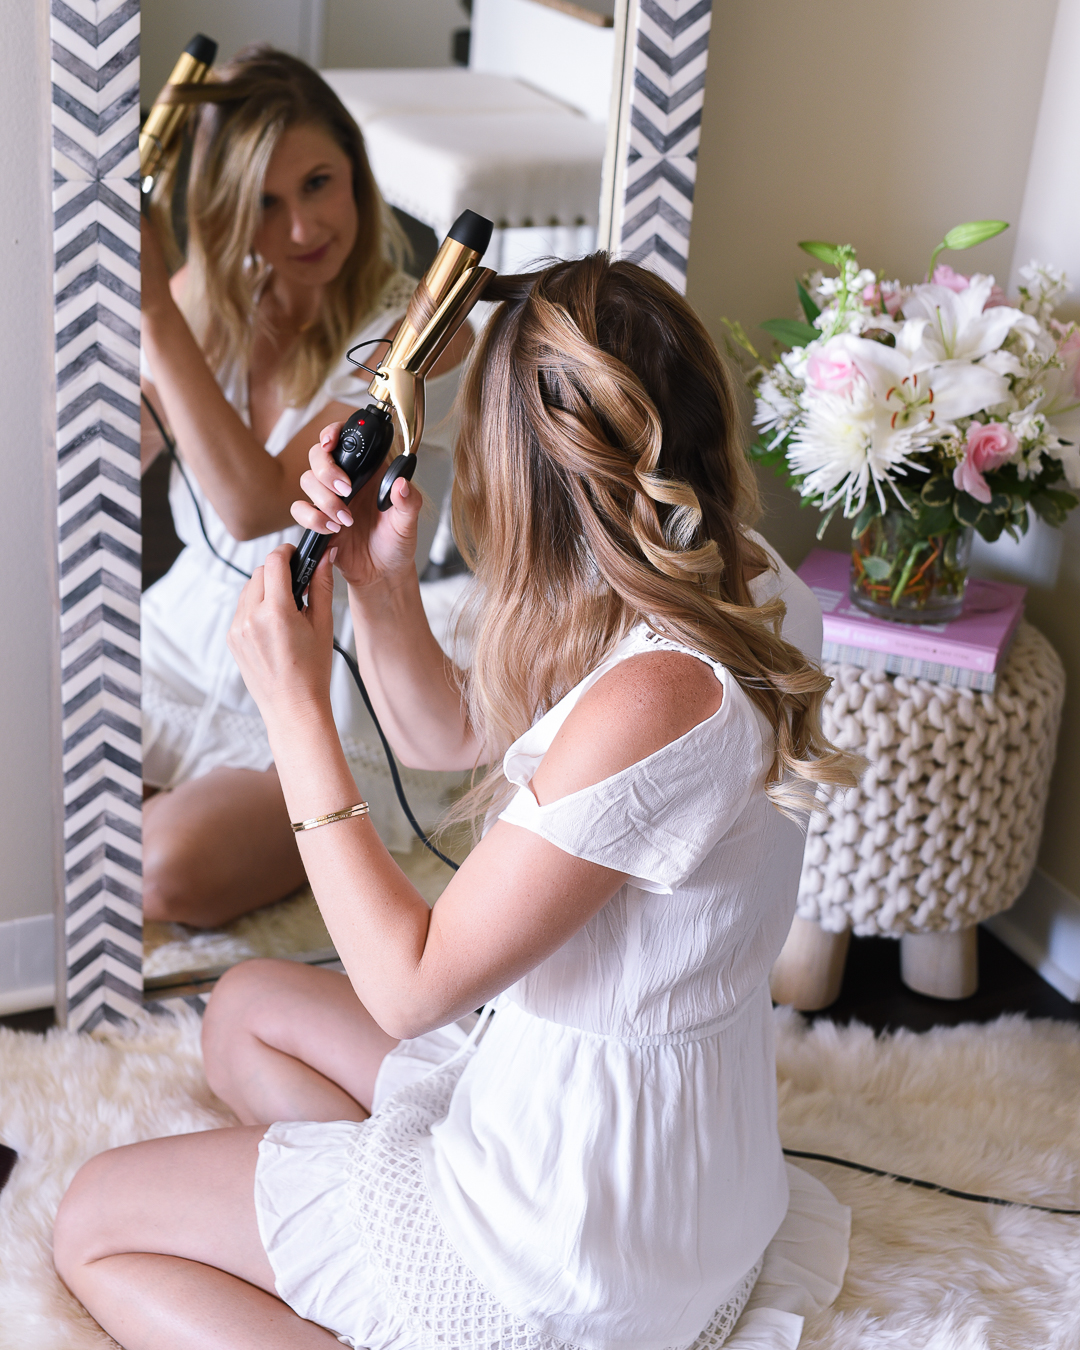
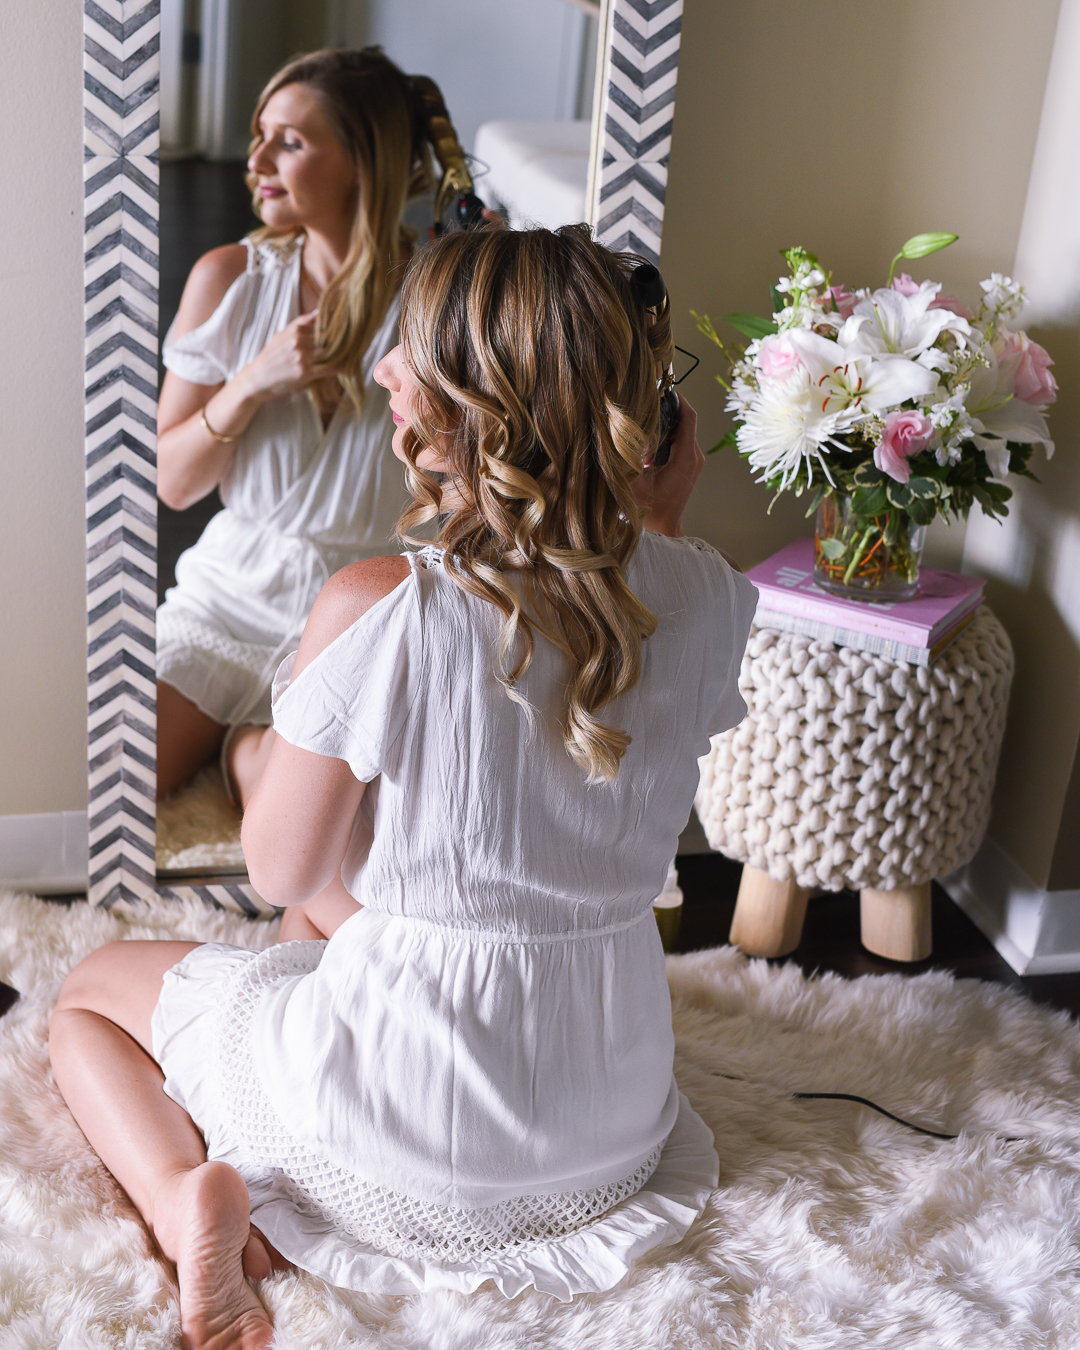
Keep doing this until you’ve gotten all the way down to your ends. This part may take time to master so give yourself 5 separate hair curling attempts before giving up. Because you’re applying heat to the middle and top of the strand, it will help your curls last longer if you have hair that refuses to hold a curl. Trust me, I’ve been training my hair for years. Since 2011 to be exact.
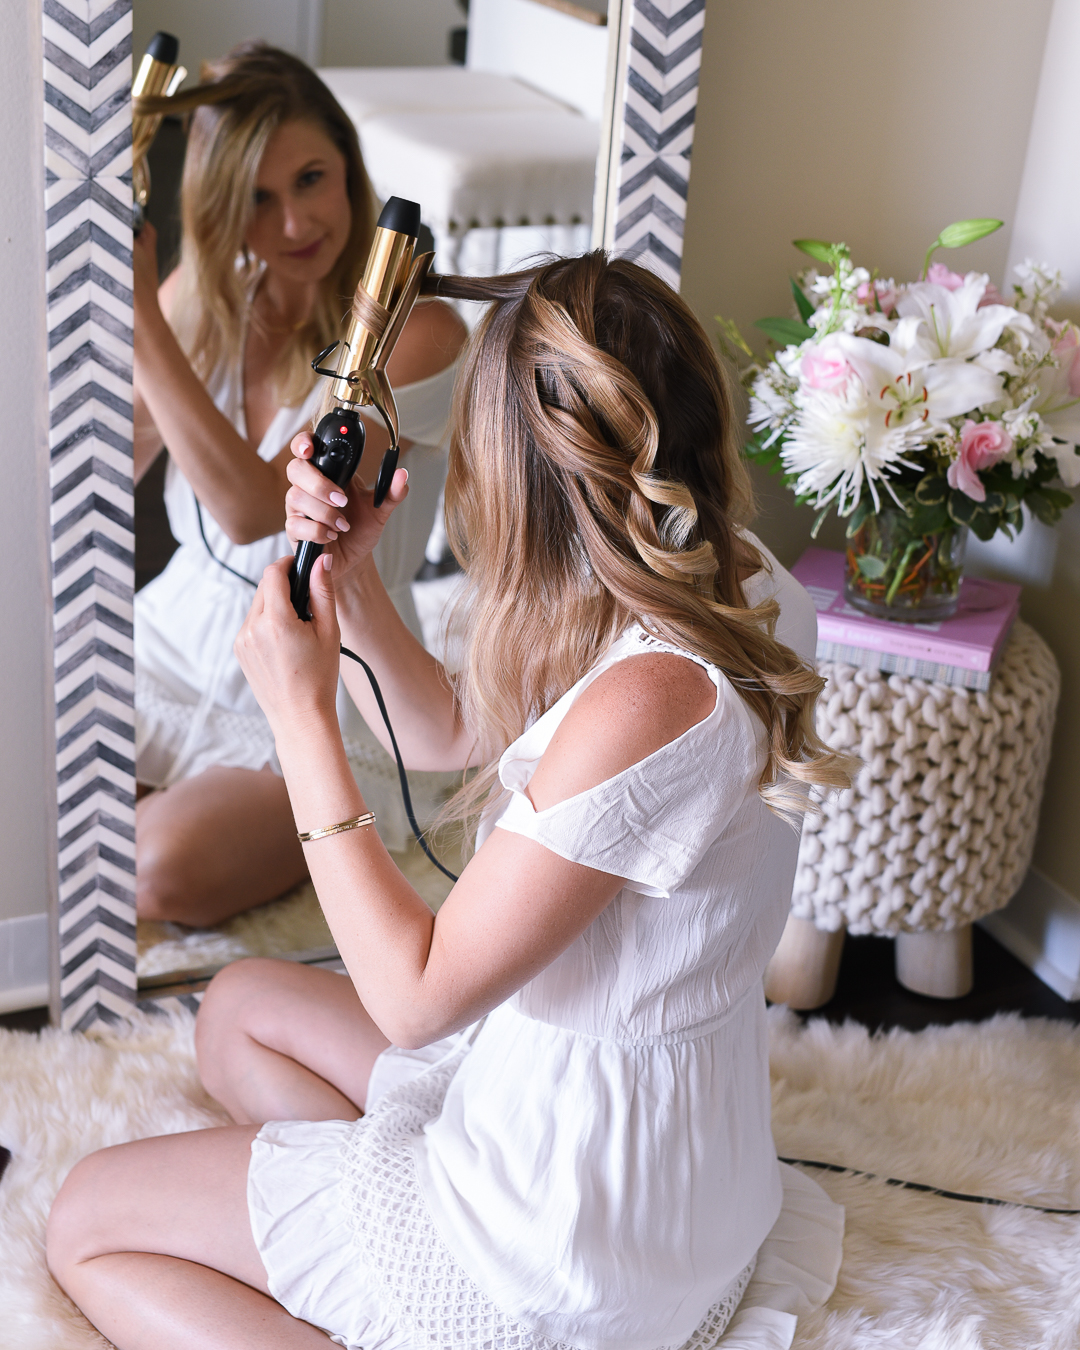
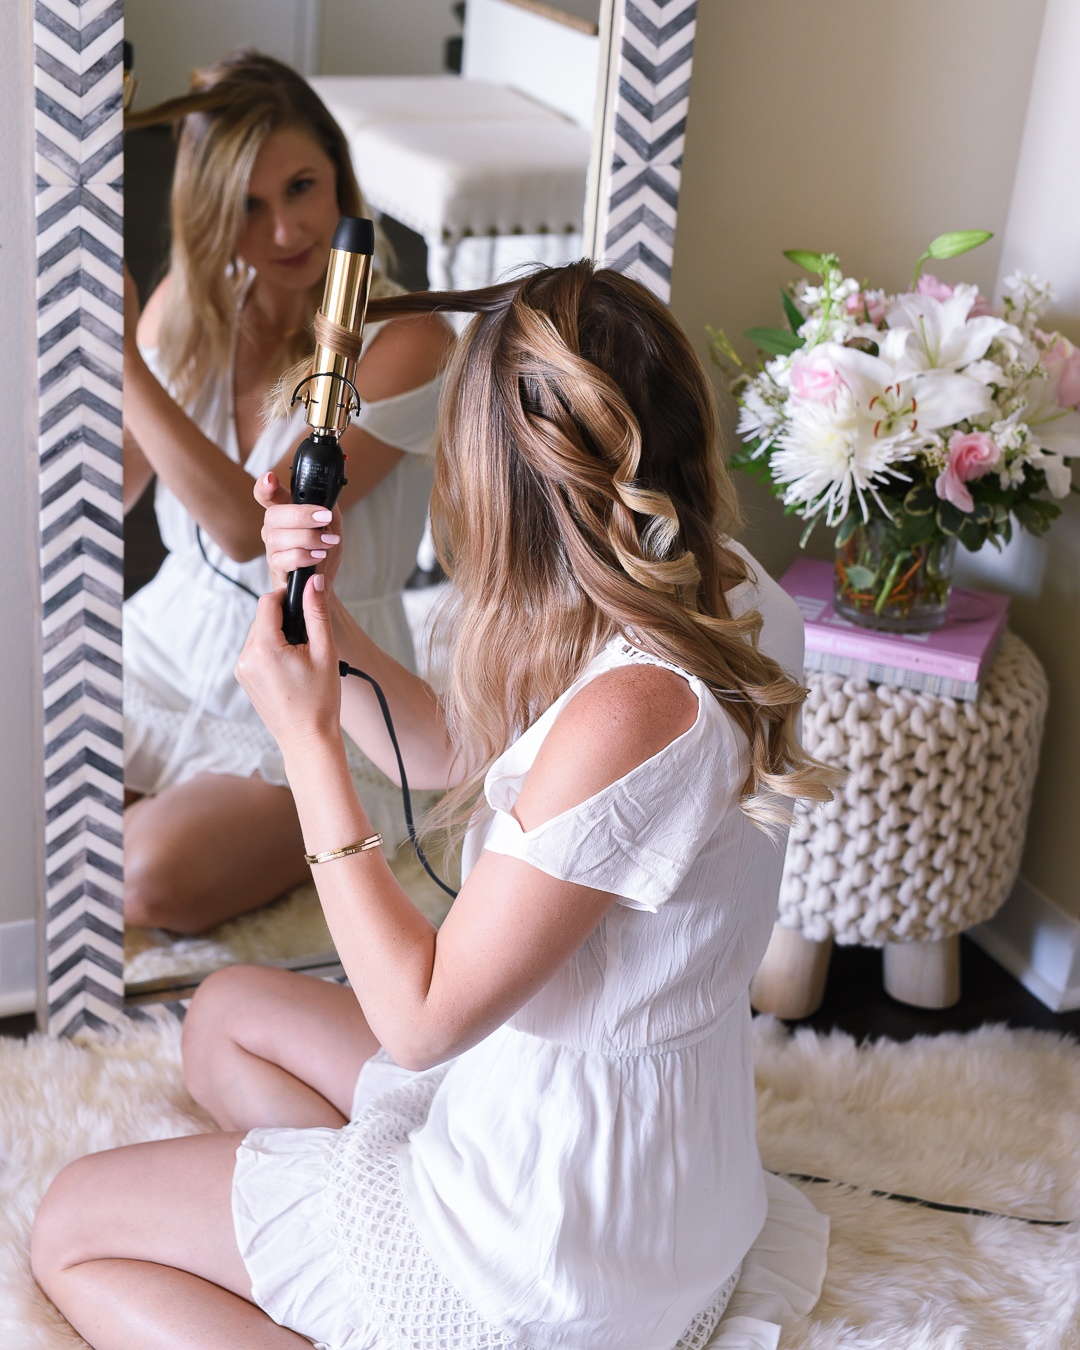
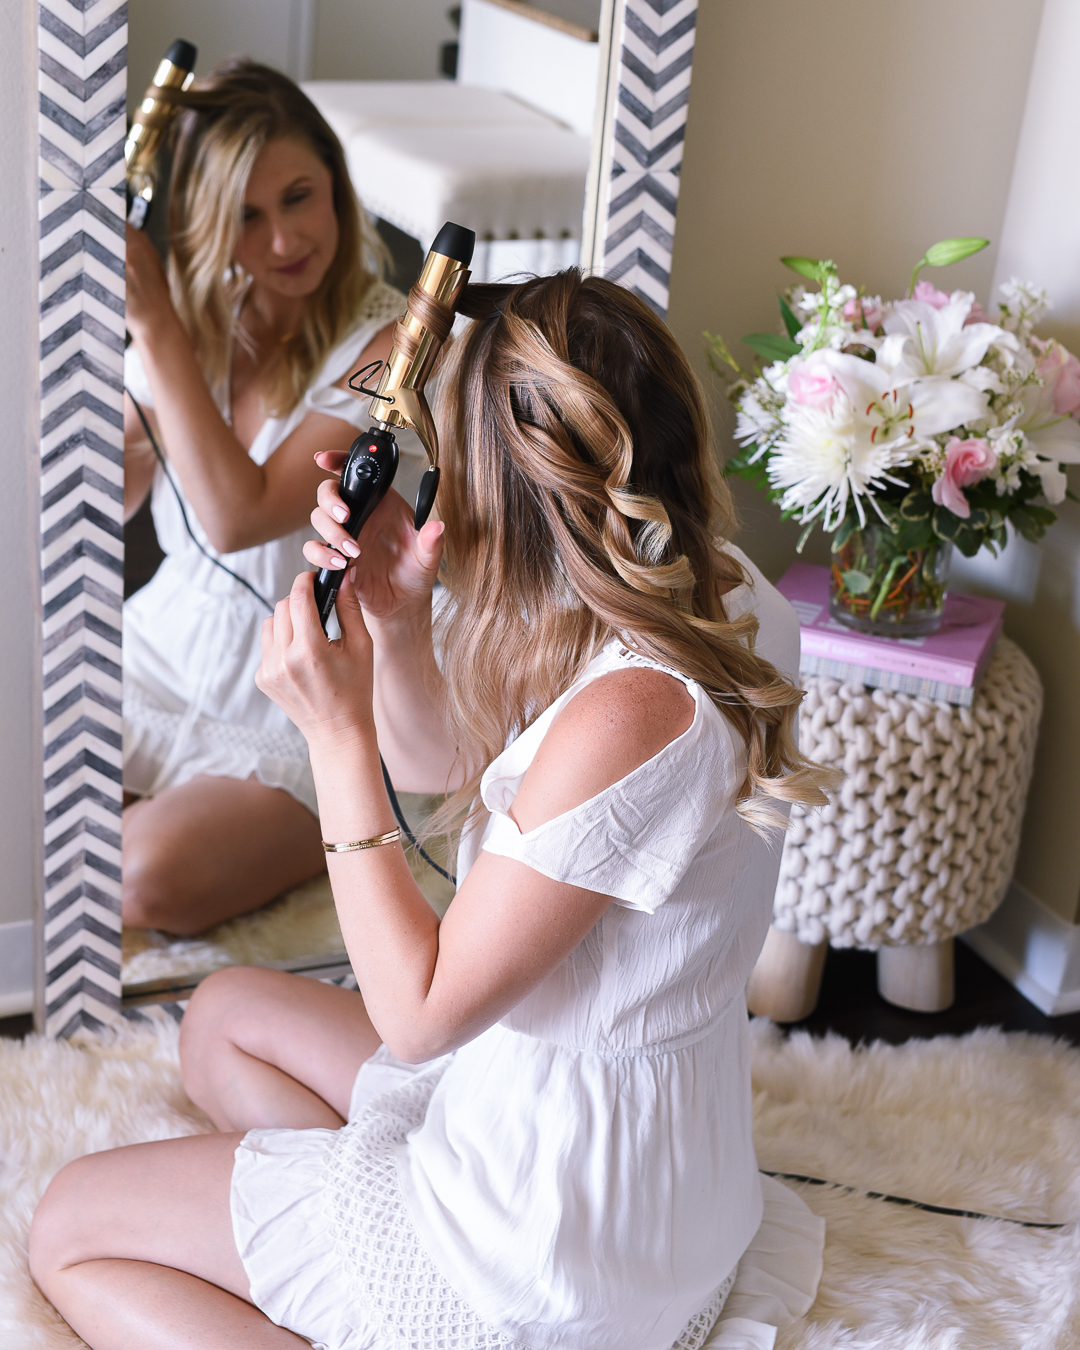
Make sure the ends feed into the curling iron without getting a crease too. That’s the one part you have to watch. Once your done, toss it over your shoulder to keep it separate and move on to the next strand!
Step 7
Take your fingertips and wiggle your hair back and forth at the root a little to mess it up. Recurl the pieces that need a little more love. While this may seem duplicative, I swear by this step and it usually takes a matter of minutes. It also serves to give you a messier, less perfect look. I usually pull out even smaller strands all along my top part as well as 2-3 underneath all my hair. Those seem to be the pieces that need a double curl in order to hold. Since my hair has a lot of breakage in both places, this hides that breakage and makes these pieces look layered, making your hair look fuller overall. That’s a win all around! Talk about putting a positive spin on a horrific experience!
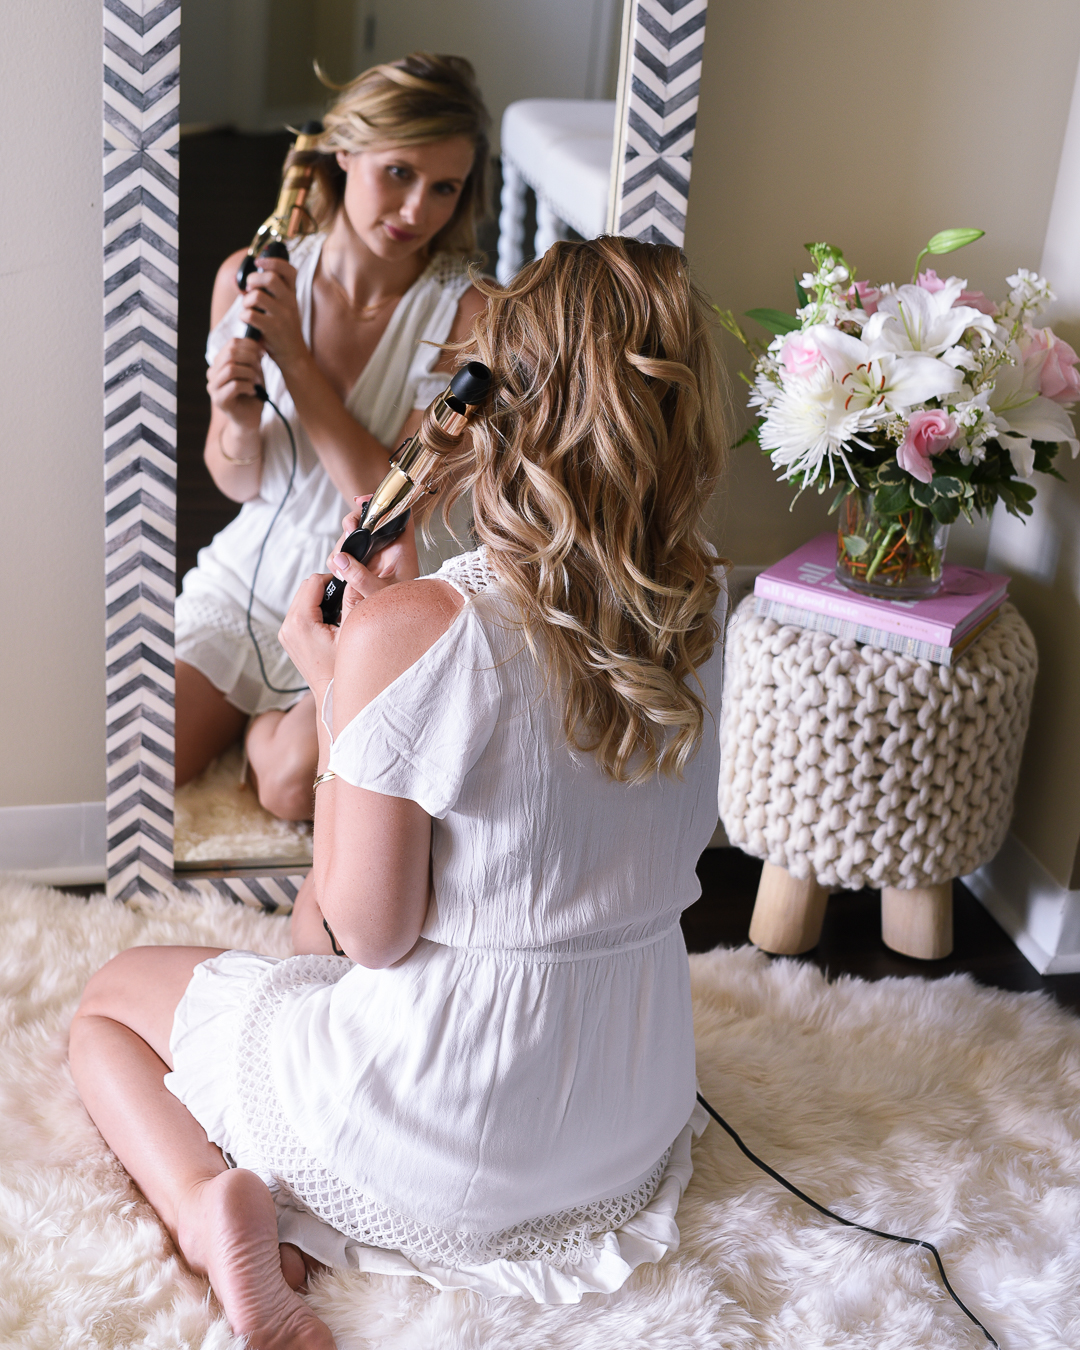
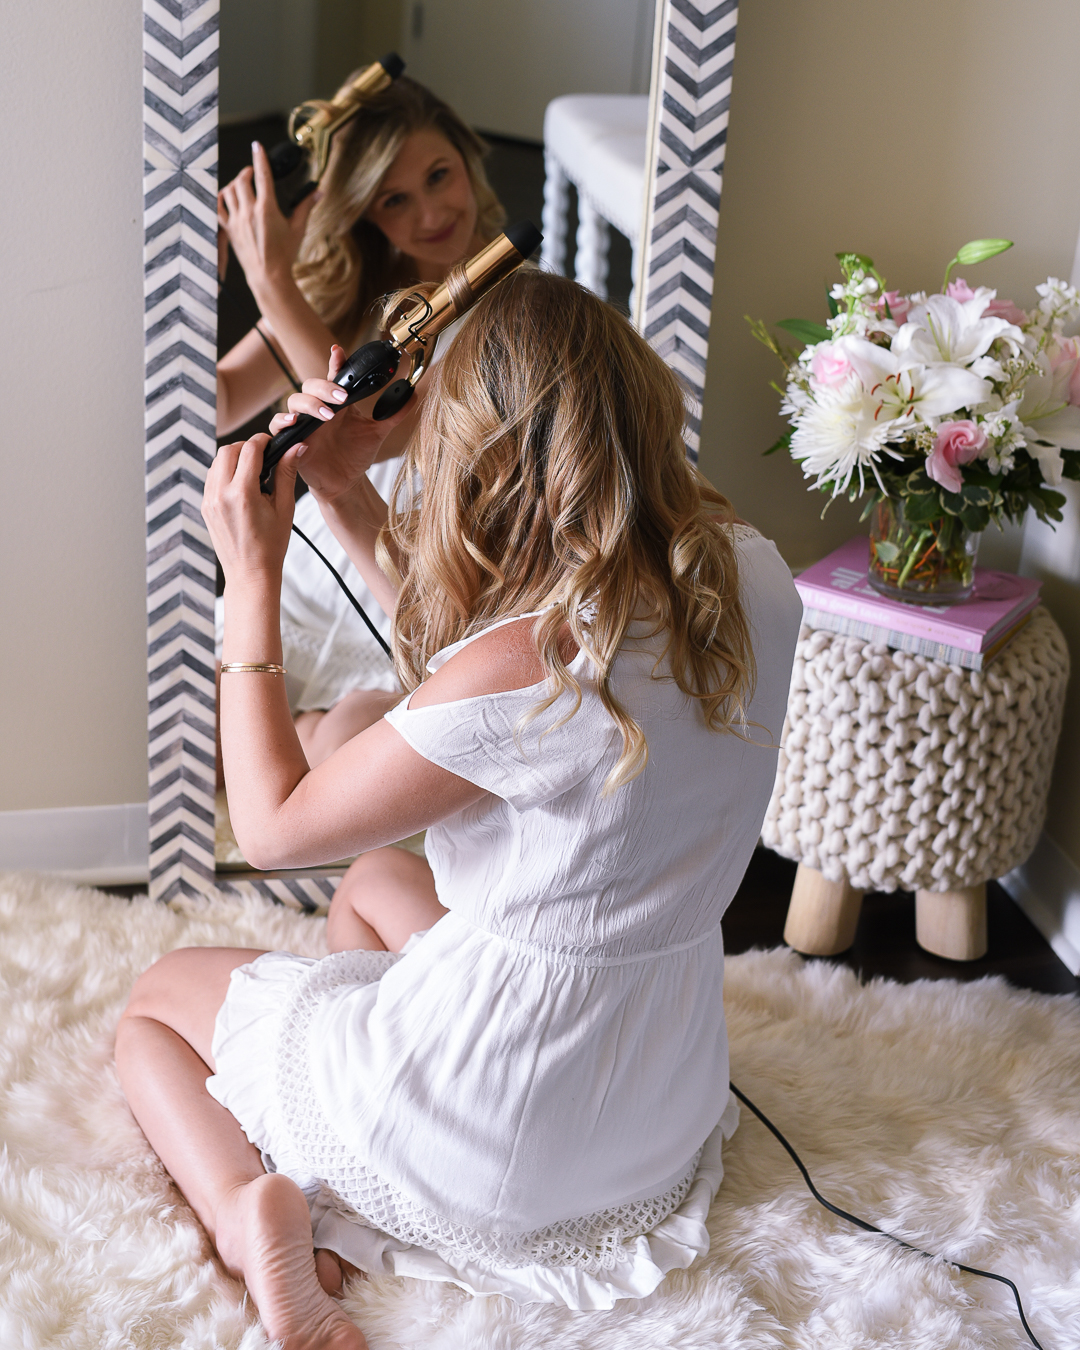
Step 8
Take your fingertips and wiggle your hair back and forth at the root a little to mess it up, again. Voila!
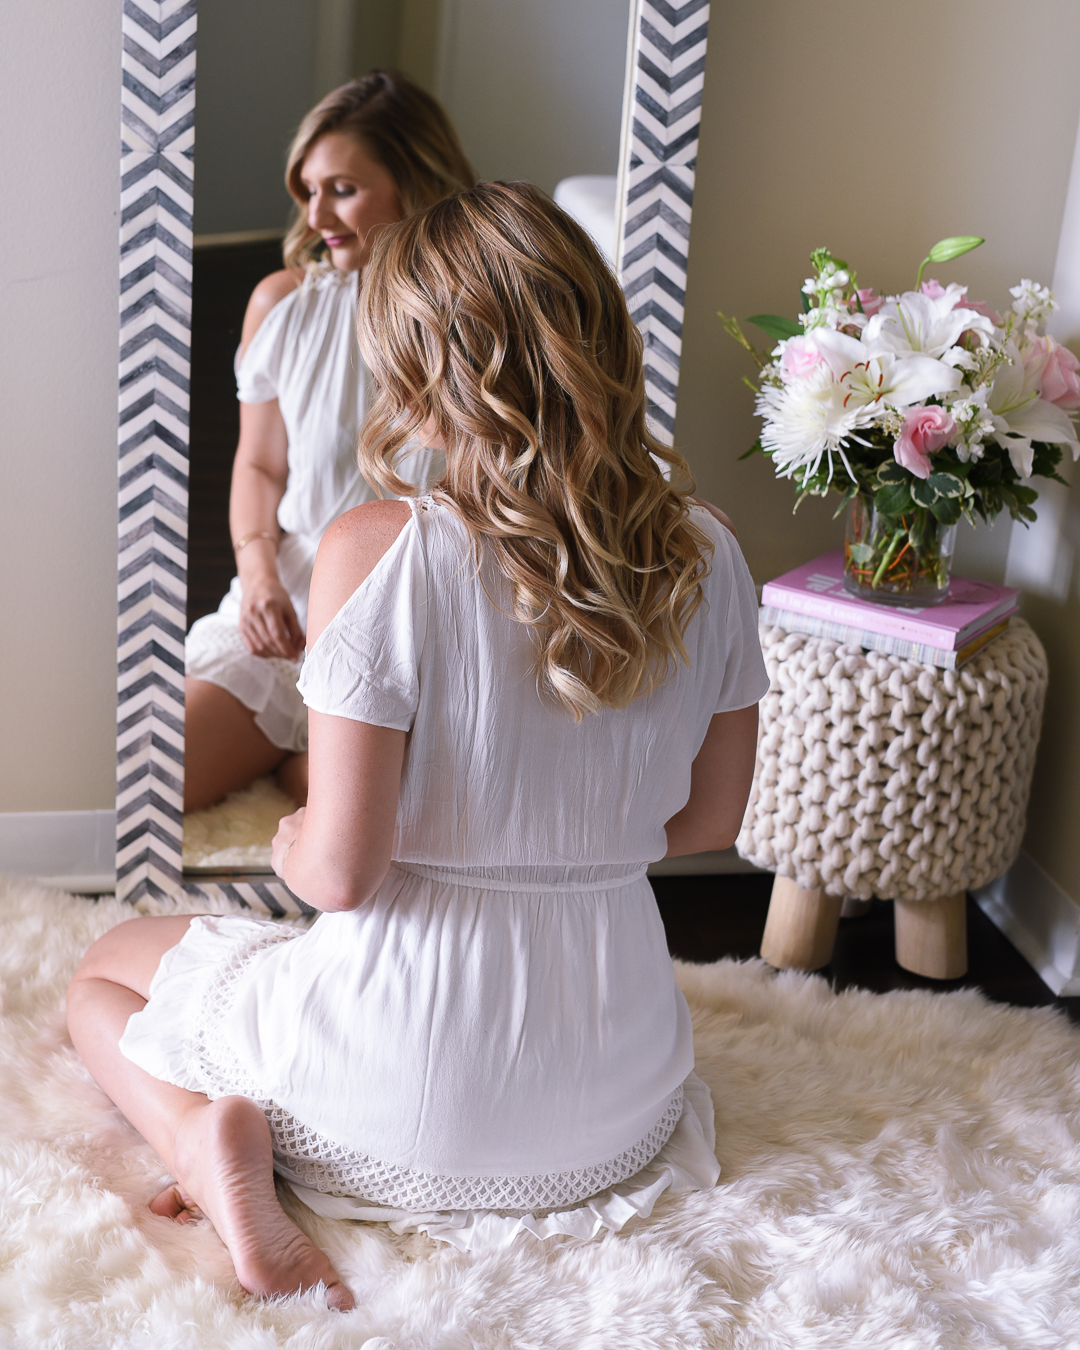
Step 9
I don’t always use a texturizing spray but if my hair is recently washed, I’ll put a little product in it to help it hold. The key word is “a little”. I hate the feeling of hair that’s full of sticky product – reminds me of bridesmaid updos. I really like this one by CHI for every day and it doesn’t get as heavy and this Beach Blonde Sea Salt Spray for days at the beach.
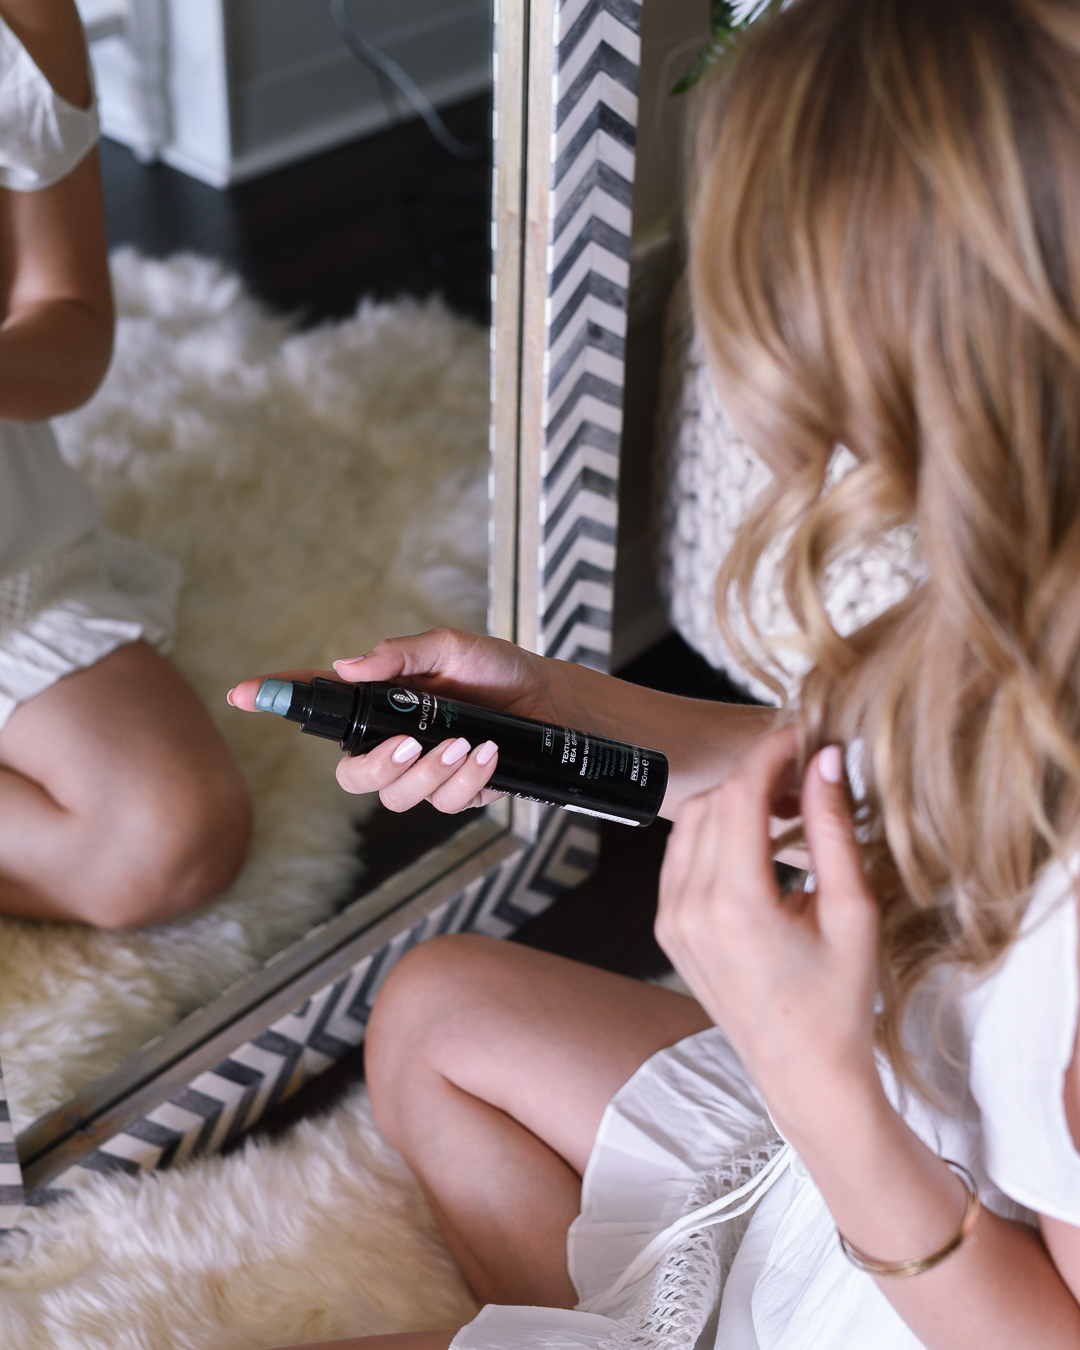
I also don’t believe in hairspray because it actually weighs straight hair down, slowly removing the curl. That’s why whenever you leave the salon, your hair looks great for an hour before it starts dropping into a ratty mess! It’s going to drop anyway, but by not using it, you can revive some life into it later.
Step 10
Resist the urge to run your hands through your hair. If you must, run them through while recurling the strand with your fingers (i.e. pretend your finger is the curling iron). Never run your fingers through like a comb. You might need to do a couple strands separately – probably targeting the same strands as in Step 7. I’ll often “recurl” with my fingers right before a photo or something. This is a quick way to reset those curls and train your locks to stay put.
That’s it! You are all curled and ready to take on the world!
Let me know if this was helpful or if you want to see more! Matt and I want to do a few videos but need to figure out a few logistics first! Remember that you can get $5 off every $20 with code VisionsOfVogue on Harmon Face Values!
*In partnership with Harmon Face Values.
Perfect curls! Your hair always looks gorgeous!
I needed this post! I am not very good at curling my hair! Thanks for sharing!
Beautiful curls! I love the Paul Mitchell’s Awapuhi Wild Ginger Texturizing Spray!
Loving your hair! So beautiful and those curls are perfect!!
xoxo, Hannah
These curls look amazing and so easy! I definitely prefer to wear my hair curled too!
Gorgeous curls! I do section off my hair but definitely want to try your method to see if there’s a difference for me!
Katherine | http://www.oneswainkycouple.com
I’ve never been able to use a curling iron, I can only use the curling wand! Such pretty shots!
Xo, Nina
Law of Fashion Blog
I loved this tutorial. I am horrible at curling my hair! Might try it this weekend!
xo Jessica
http://www.whatsfordinneresq.com
I’m working on my hair curling tutorial too. I use a wand though, but you make a curling wand look so easy! Love your curls!
I never figured out how to do this! Thank you for this post, it will come in very handy!
https://lartoffashion.com
I loveee your tutorial! you have the prettiest curls!
Sabrina | Gypsy Tan
Your curls look gorgeous! I totally run my fingers through my hair after I let the curls set and have sprayed in hair spray. I feel like for my hair it relaxes the curls a bit so they’re not too harsh.
xo, Laura
http://www.have-need-want.com
I love a good hair tutorial and yours turned out perfectly! I need to try!
Such a great tutorial!! I’m terrible at curling irons, I can only use a wand! You make it look so easy!
Xx Mollie
I love your hair curled! Thanks for showing us how to get the perfect curls!
April | http://www.thebluehydrangeas.com
Great tips and perfect curls!
xo Jessica
My Style Vita
Thanks for the tutorial! You always have the prettiest curls! And I LOVE that texturizing spray!
Your curls are perfect! Thanks for sharing!
Liz
http://Www.lizzieinlace.com
Your curls look gorgeous! I love that you recommend a heat protectant spray- I am SO bad at not using one, I need to start though to protect my locks. Loved your tips!
Your hair is so gorgeous! Going to have to try some of these products!
I love this post and how informative it is! I need to try those products!
I’m so glad you shared this post because your hair always looks so so fabulous!
xo, Sara
So many good tips! Your hair is fabulous!
LOVE your hair, girl! These are amazing tips, and I need to try that sea salt spray!
-Tristan
These are great tips! I need to try that protective heat serum on my hair!
This curling wand curls your hair beautifully
These are such good tips and tricks! Thanks for sharing
Your hair always looks so good! I’m so happy you did a tutorial!
I just finished curling my hair using your tutorial and it looks fabulous! Thanks so much. I love the white dress your wearing would you please put up info on where to buy it?
Nice post